Clean up resources
Clean up resources
After completing the workshop, we proceed to the resource cleaning step
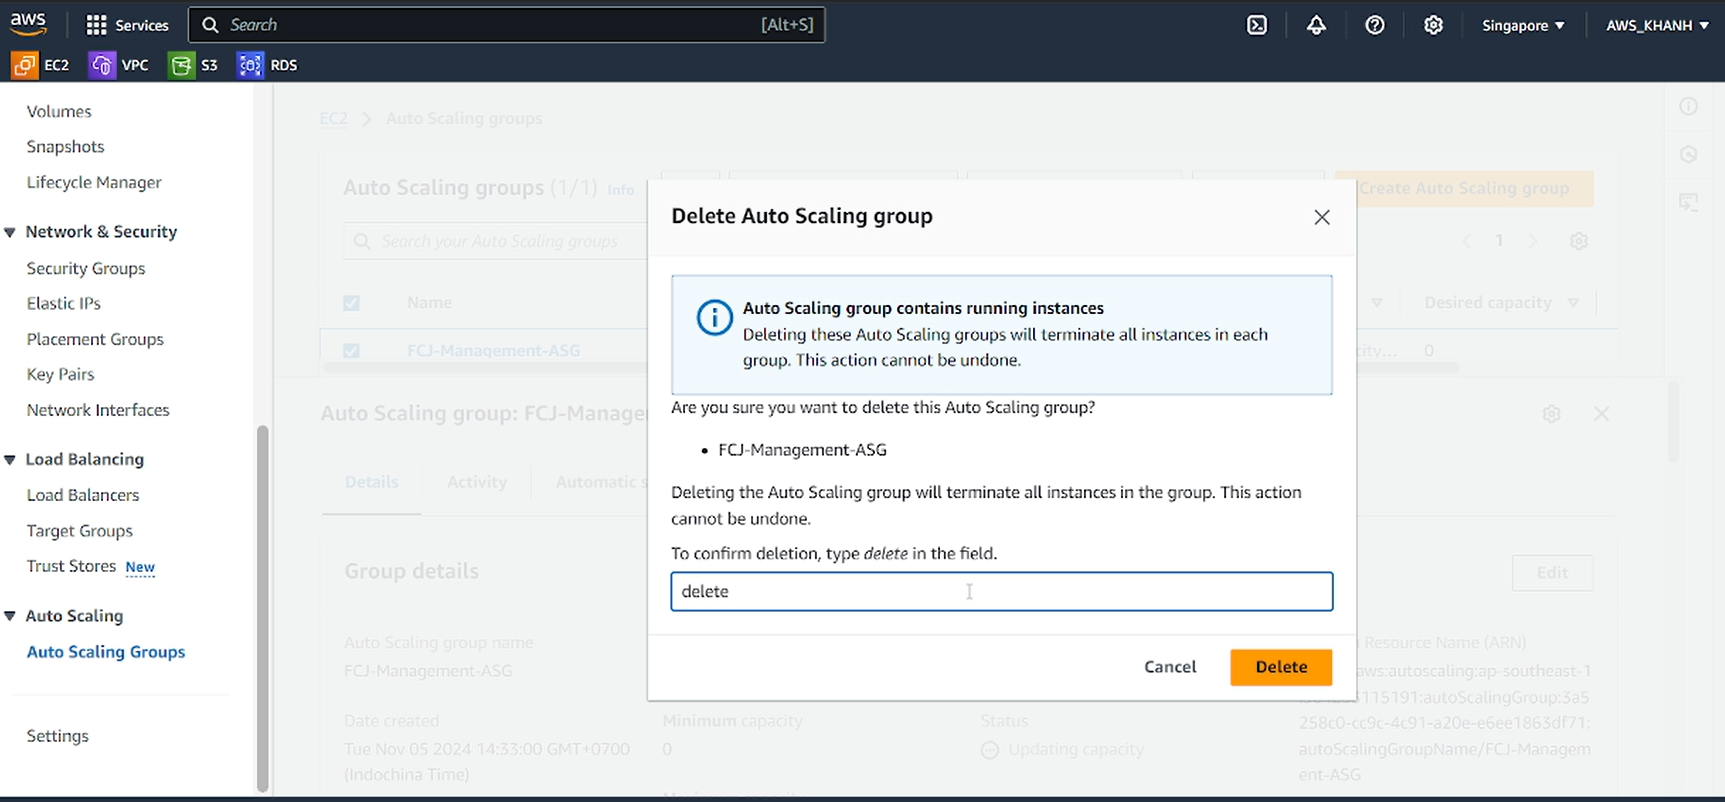
Delete Auto Scaling Group
In the EC2 management interface, in the left navigation bar, scroll down and select Auto Scaling Groups
- Select Auto Scaling Groups FCJ-Management-ASG
- Click the Actions button in the upper right corner of the screen
- Select Delete
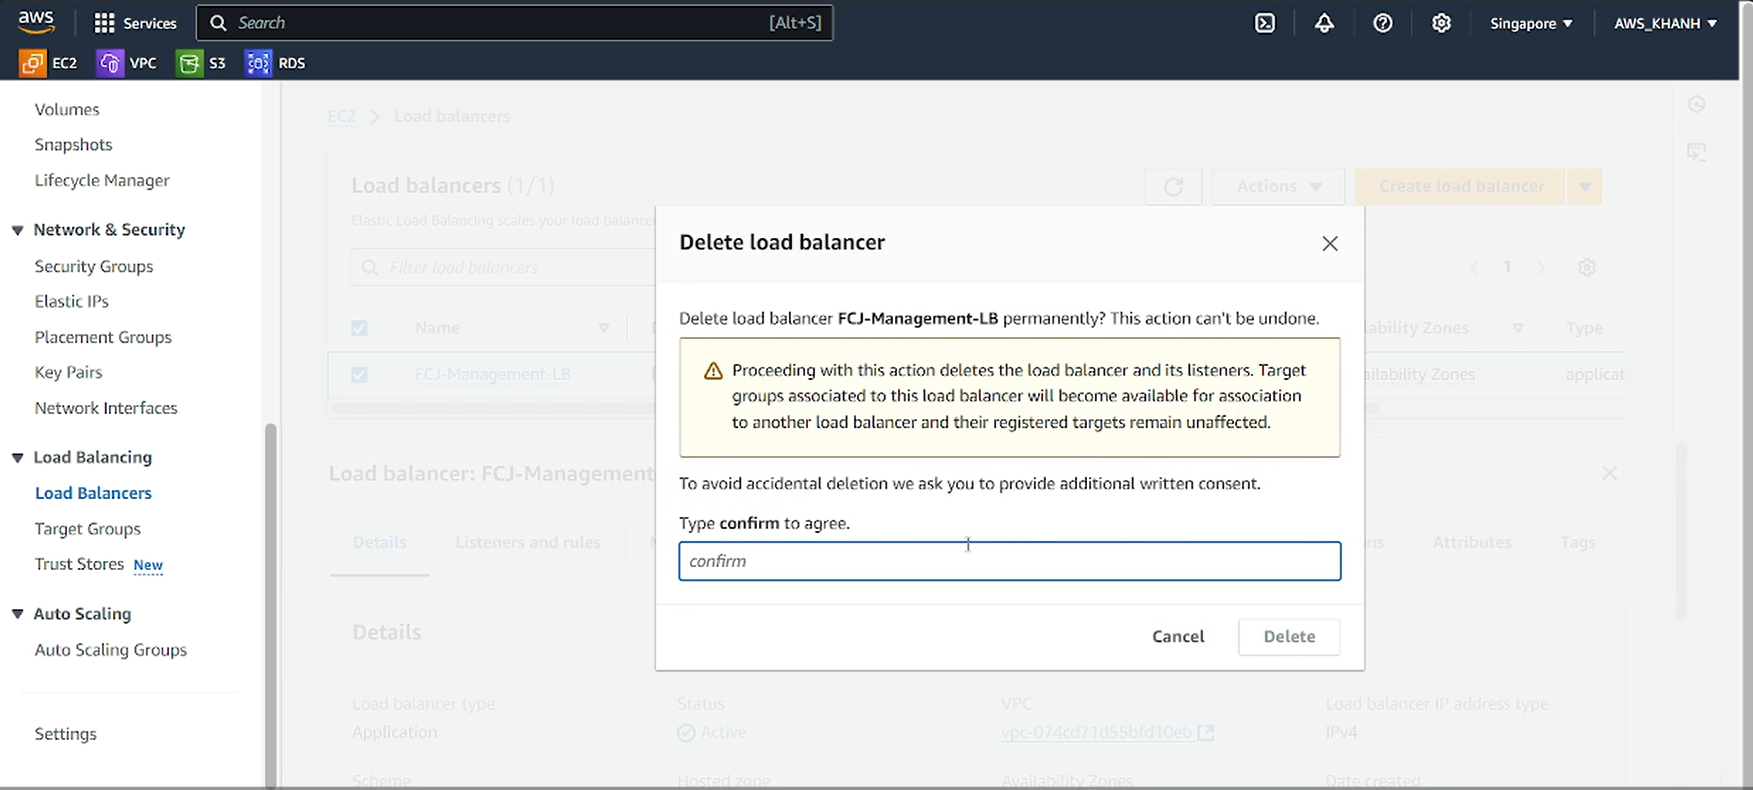
Delete Load Balancer:
In the EC2 management interface, in the left navigation bar, scroll down and select Load Balancer
- Select Load Balancer FCJ-Management-LB
- Click the Actions button in the upper right corner of the screen
- Select Delete load balancer
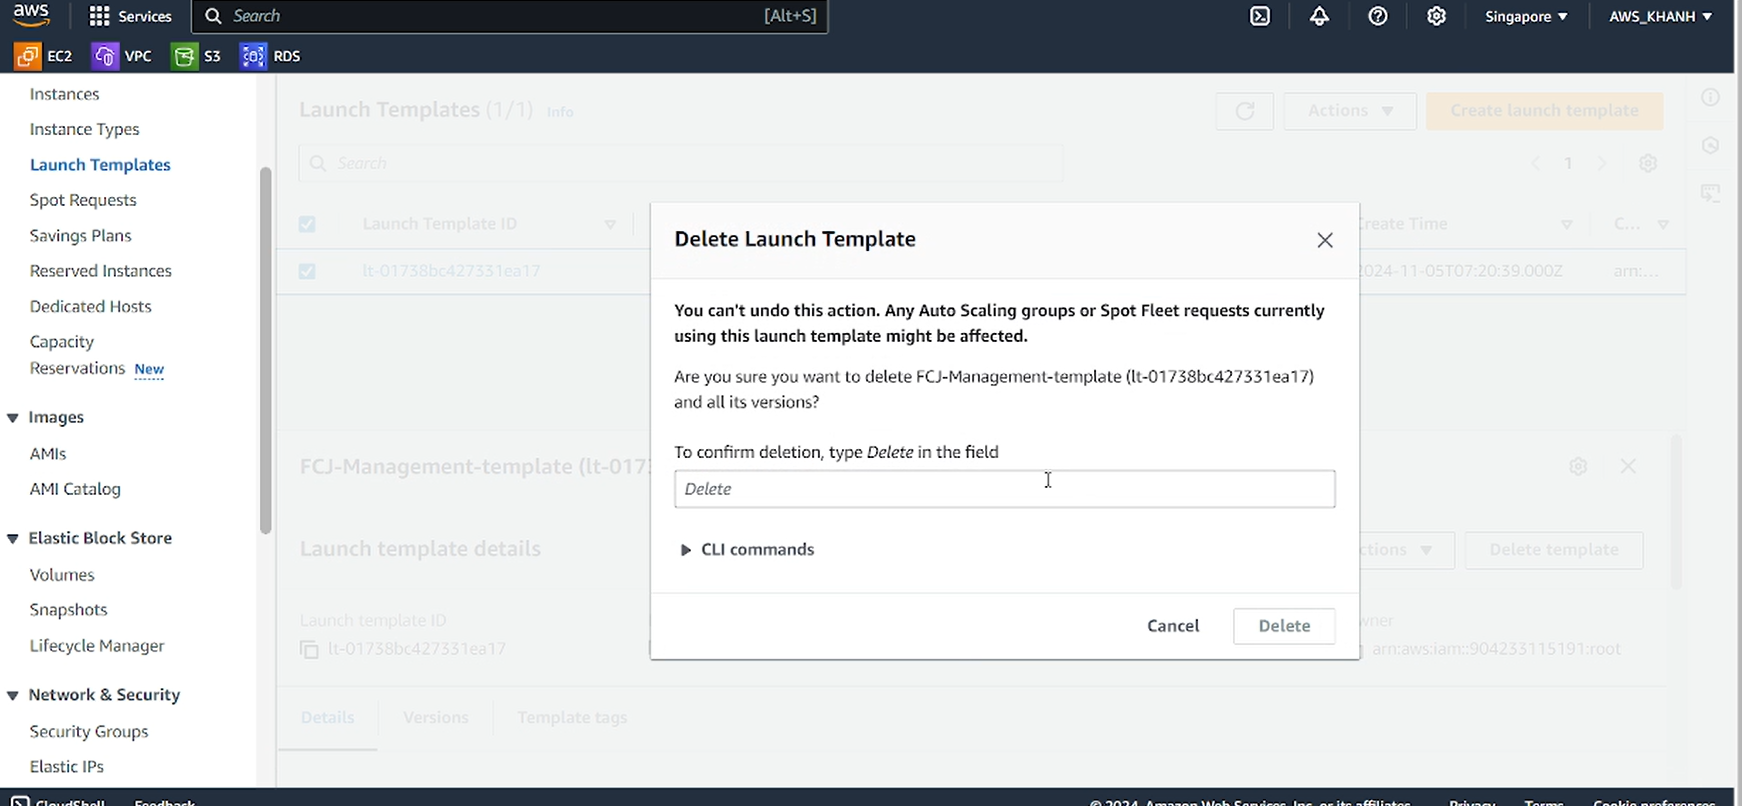
Delete Launch Template:
In the EC2 management interface, on the left navigation bar, scroll down and select Launch Templates
- Select Launch Templates CJ-Management-TG
- Click the Actions button in the upper right corner of the screen
- Select Delete template
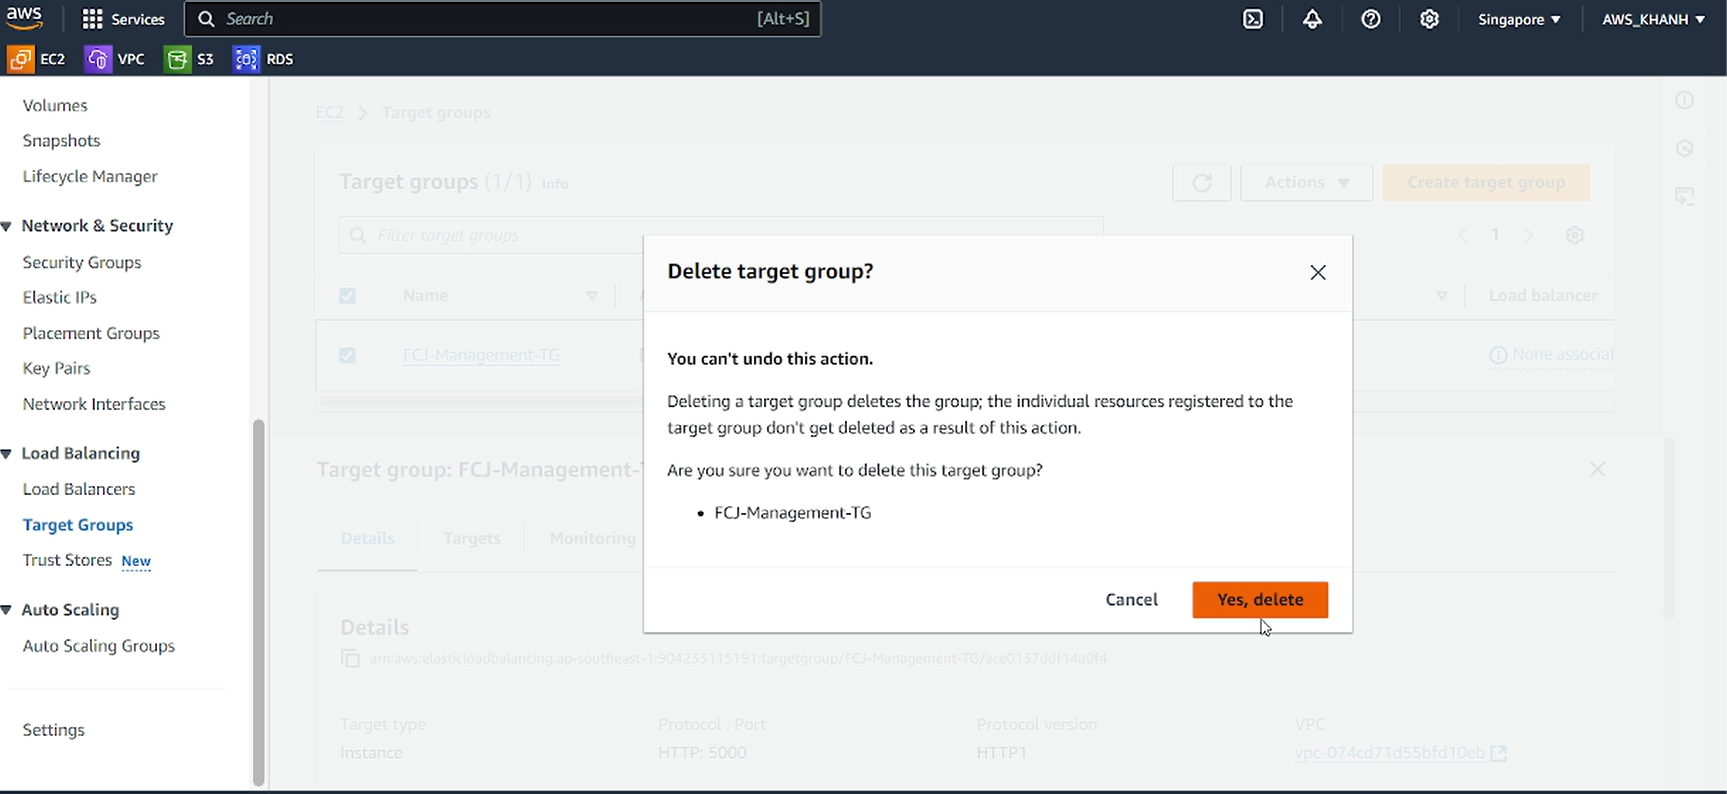
Delete Target Group:
In the EC2 management interface, on the left navigation bar, scroll down and select Target Group
- Select Target Group FCJ-Management-TG
- Click the Actions button in the upper right corner of the screen
- Select Delete
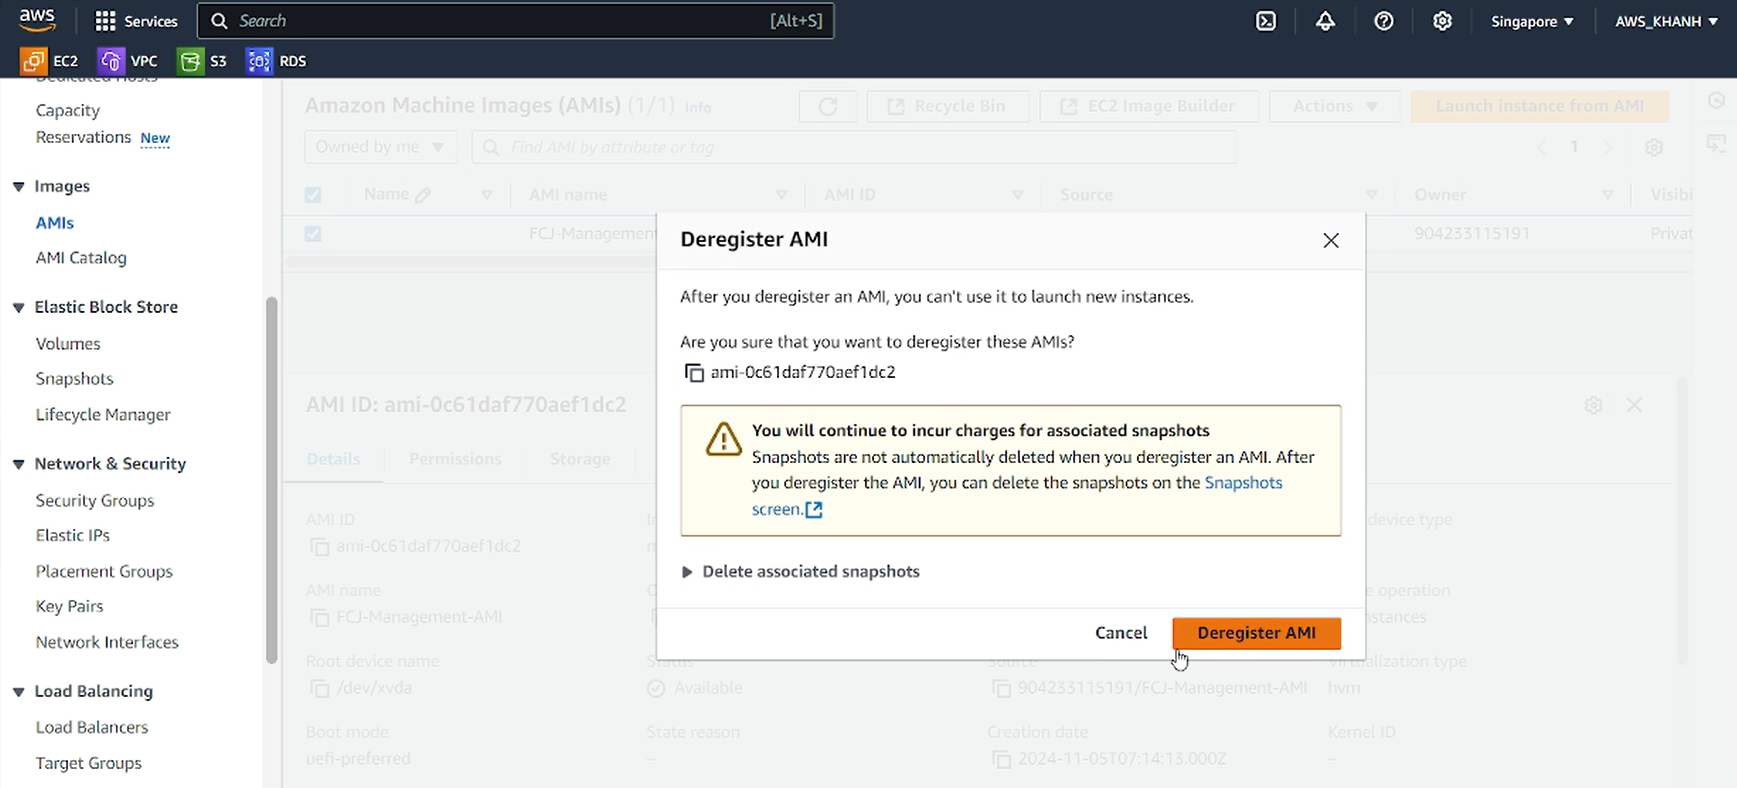
Delete AMI:
In the EC2 management interface, in the left navigation bar, scroll down and select AMIs
Select AMI FCJ-Management-AMI
Click the Actions button in the upper right corner of the screen
Select Deregister AMI
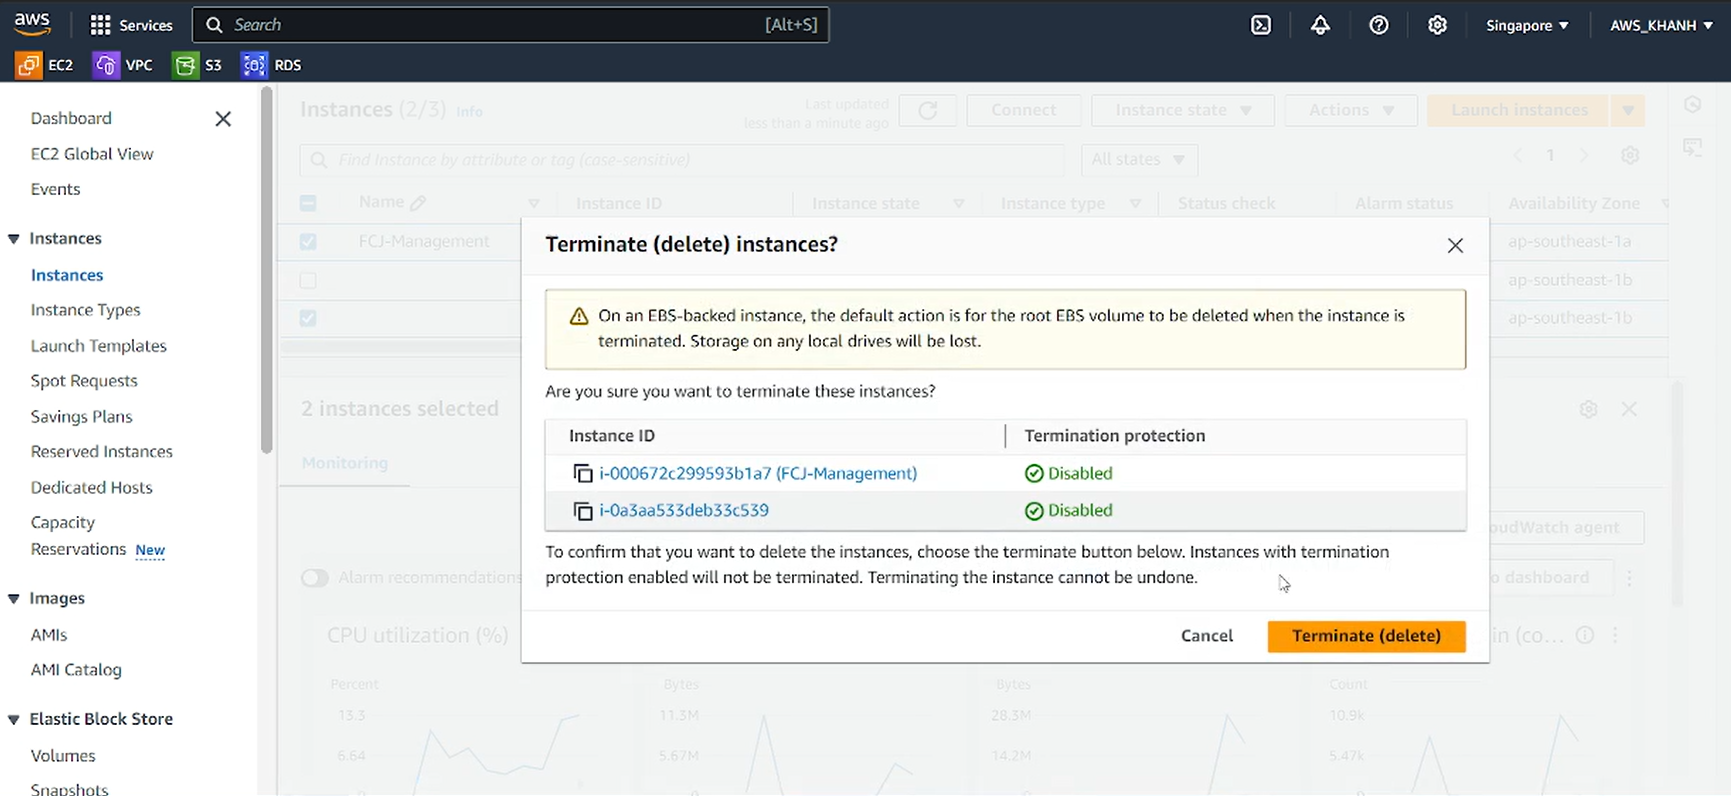
Terminate EC2 instance
In the EC2 management interface, in the left navigation bar, select Instance
Select FCJ-Management instance
Click the Instance state button in the upper right corner of the screen
Select Terminate (delete) instance
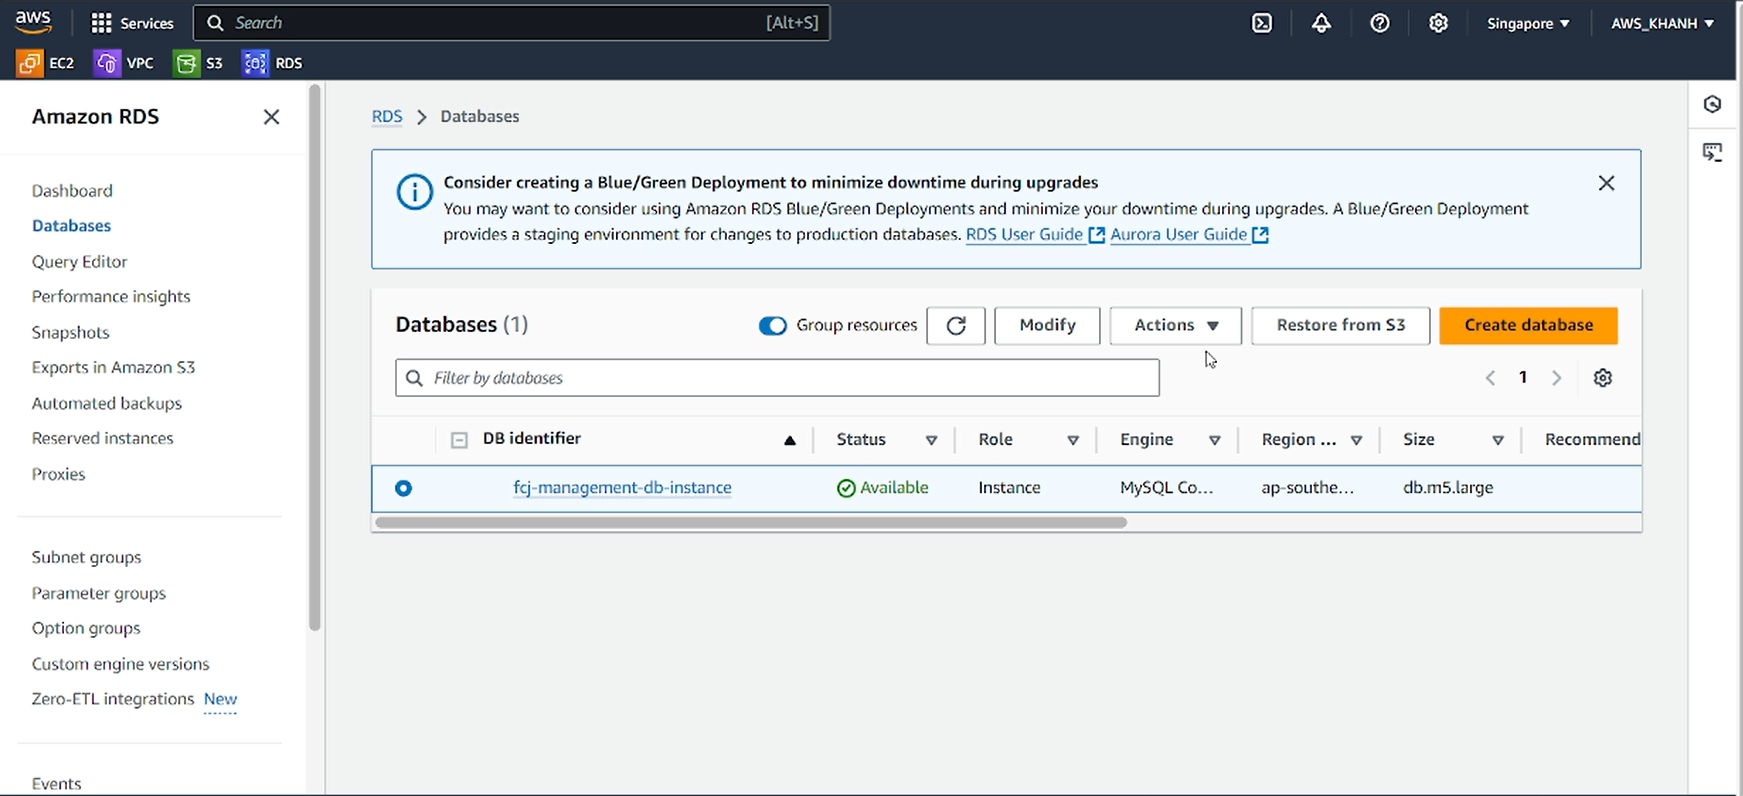
Delete RDS Database
- Go to RDS
- On the left navigation bar, select Databases instance
- Select the database instance fcj-management-db-instance related to the lab.
- Click Modify.
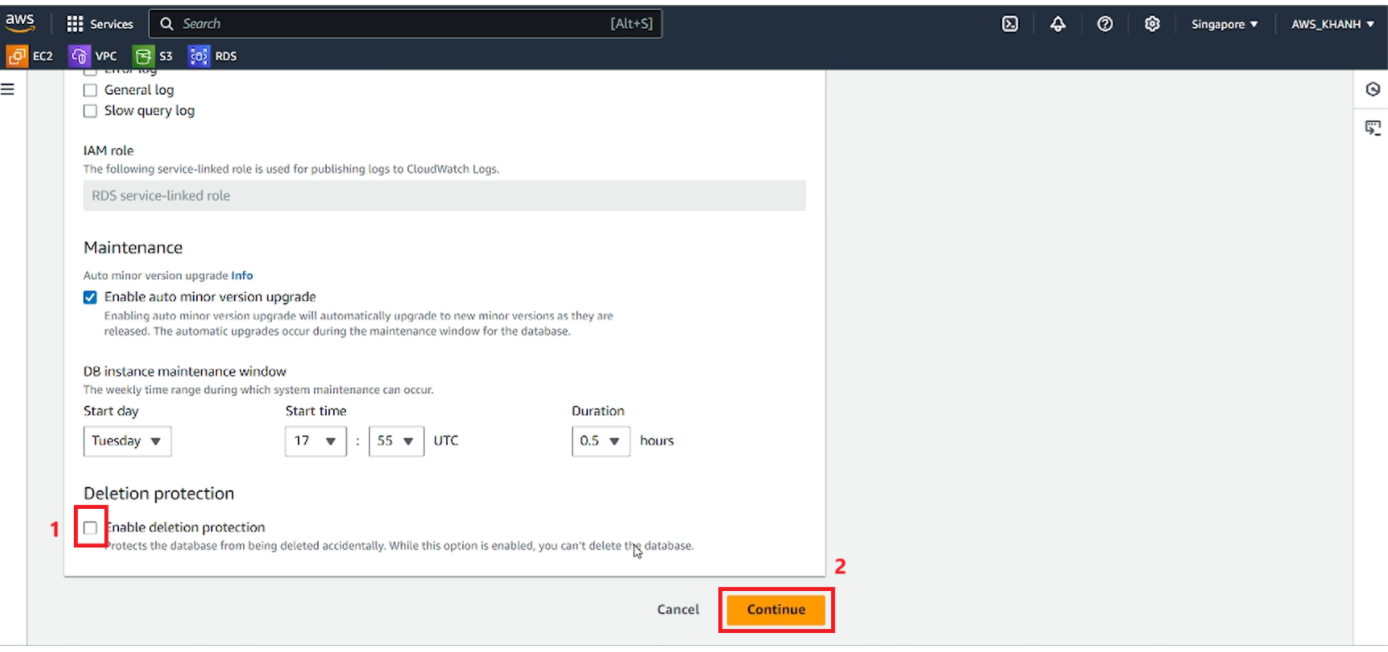
Modify DB Instance
In the Modify DB Instance section, we scroll down to the bottom
- Click to remove Enable deletion protection
- Click Continue
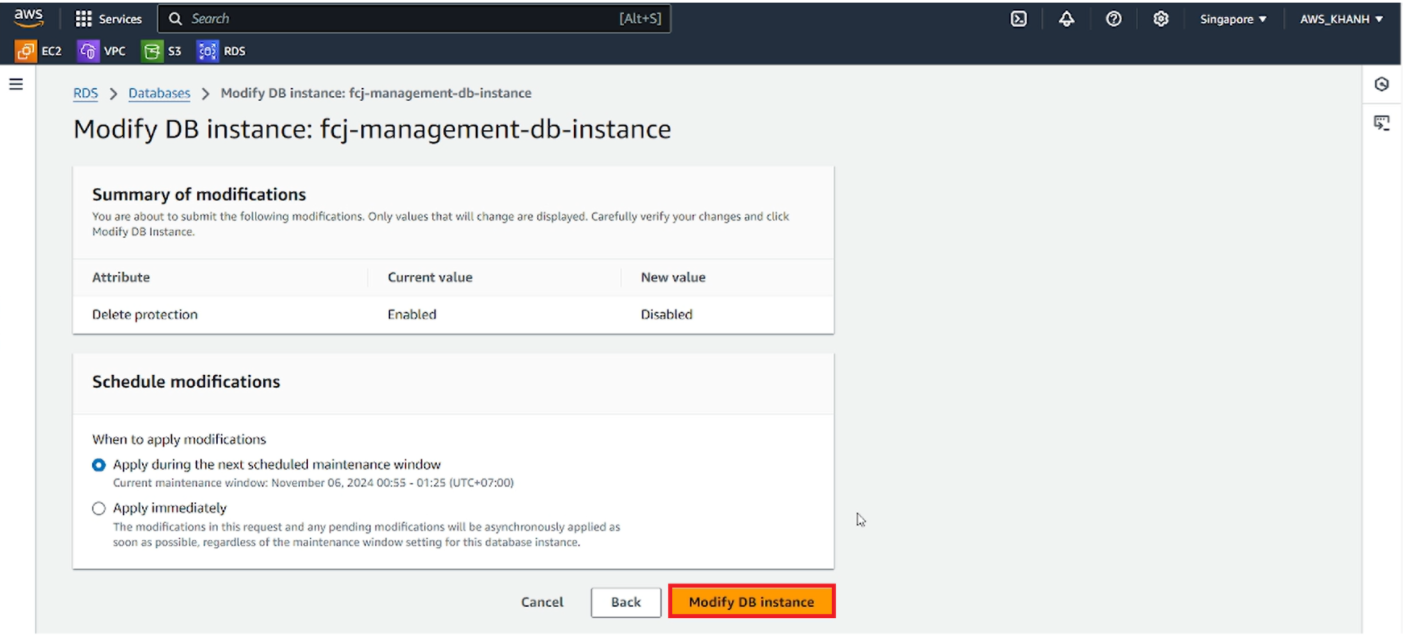
Schedule Modifications
Continue in the Schedule modifications section
- Select Apply immediately
- Click Modify DB instance
Delete DB instance
- Select database instance fcj-management-db-instance
- Click the Actions button in the upper right corner of the screen
- Select Delete
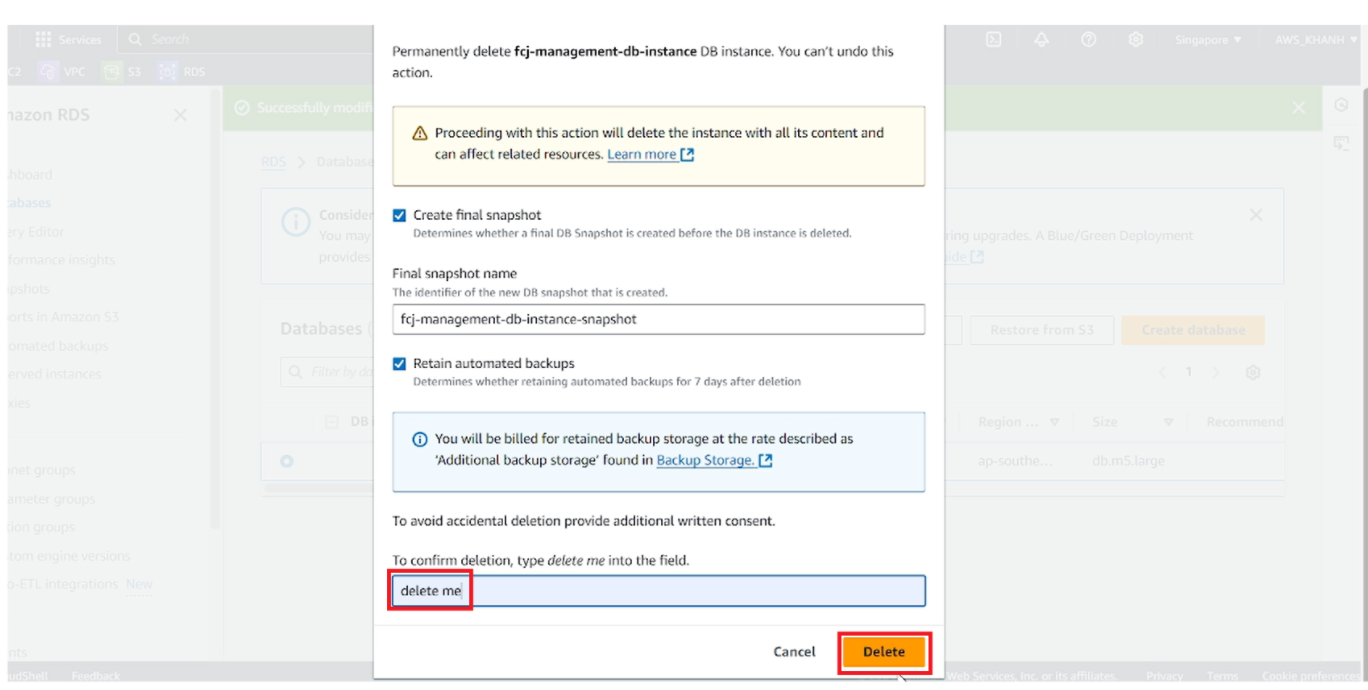
Select I acknowledge that upon instance deletion, automated, including system snapshots and point-in-time recovery, will no longer be available
Fill in delete me
Click Delete
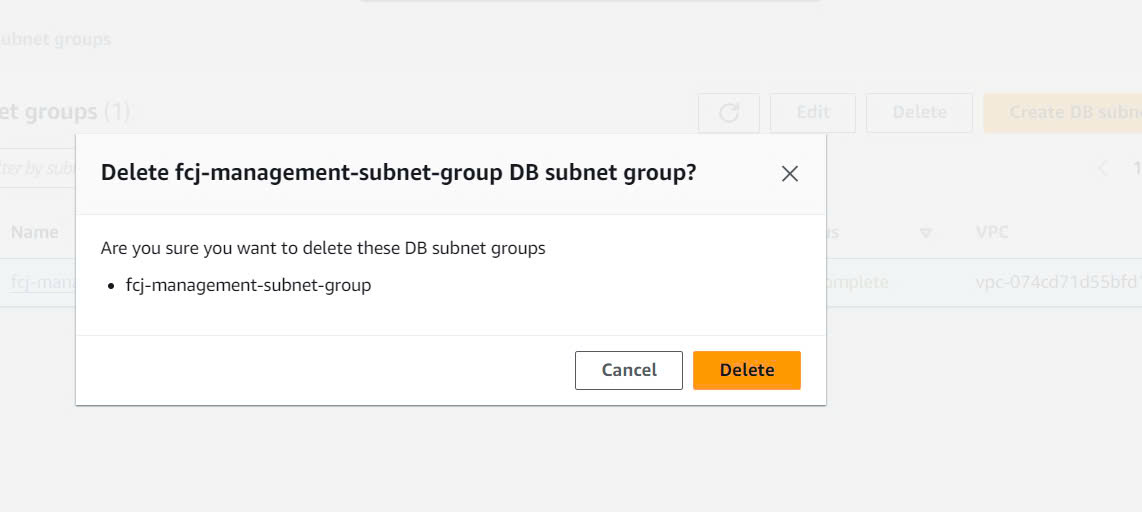
Delete VPC
- Select VPC
- Select VPC WorkShop
- Select Delete
